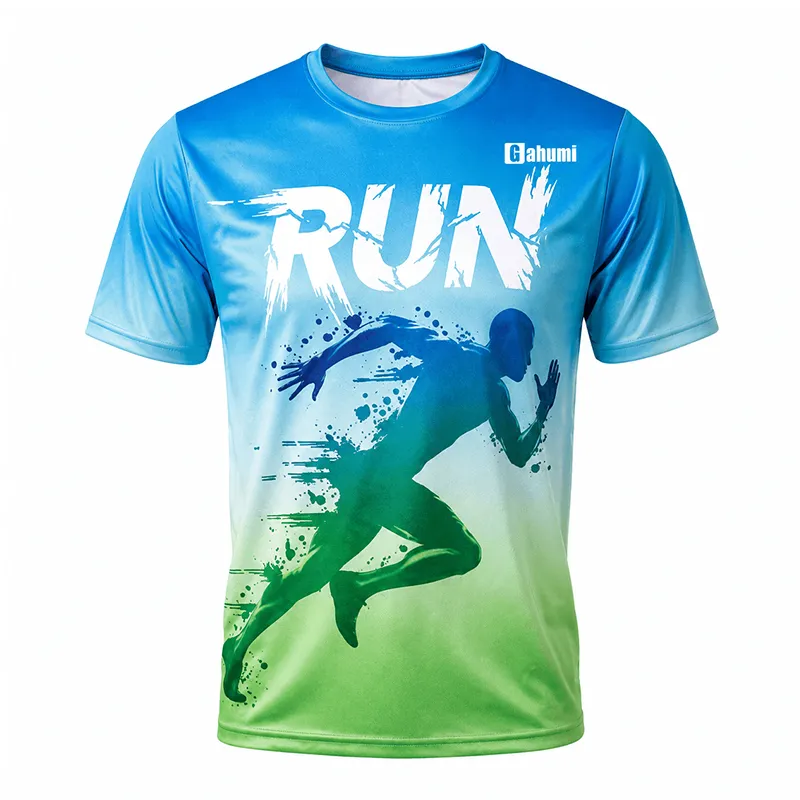
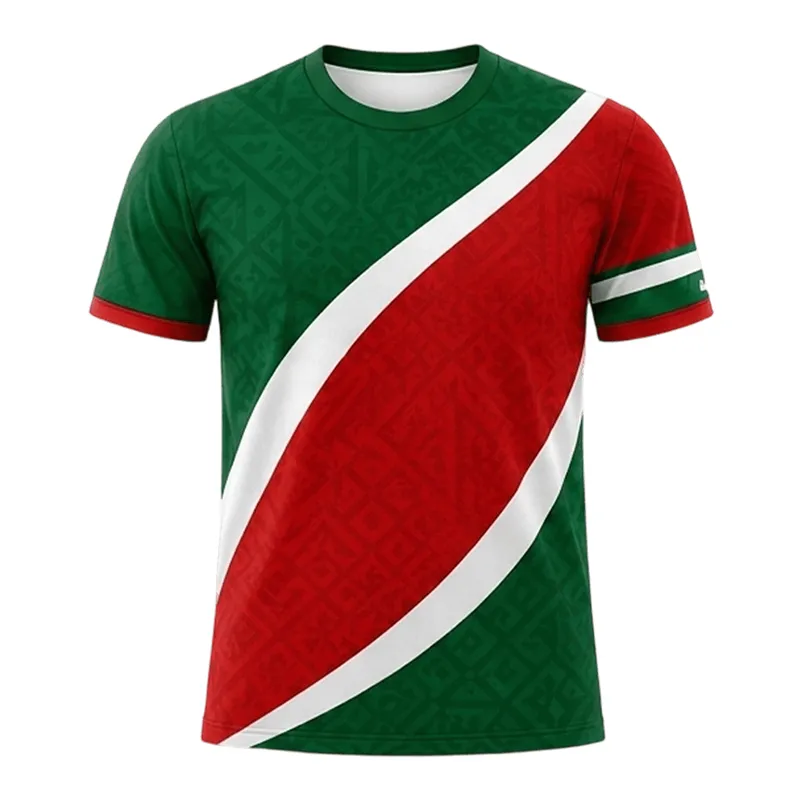
 Tshirt
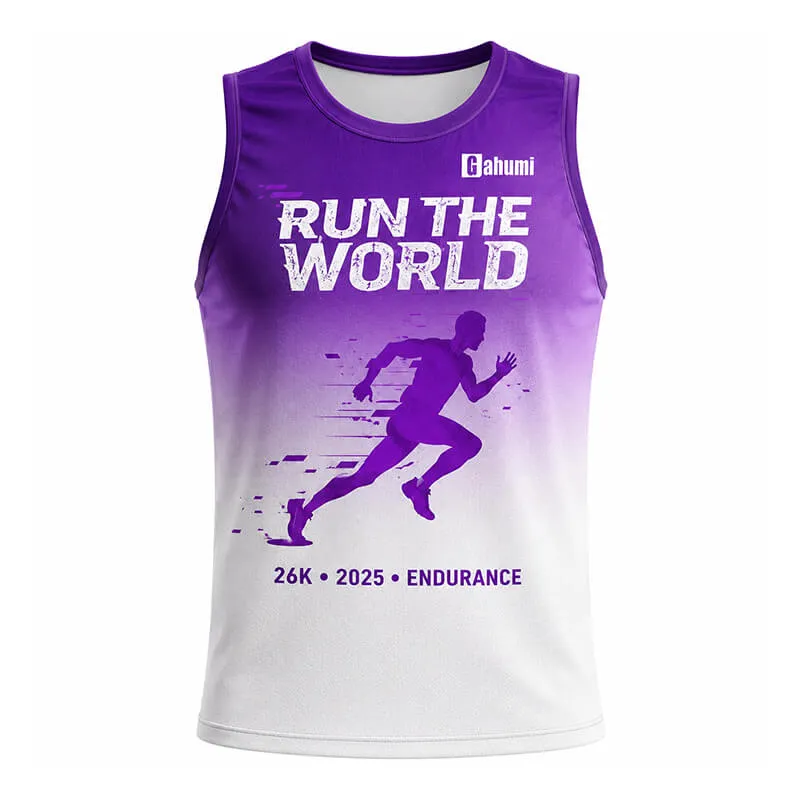
 Custom Hoodie & Sweat
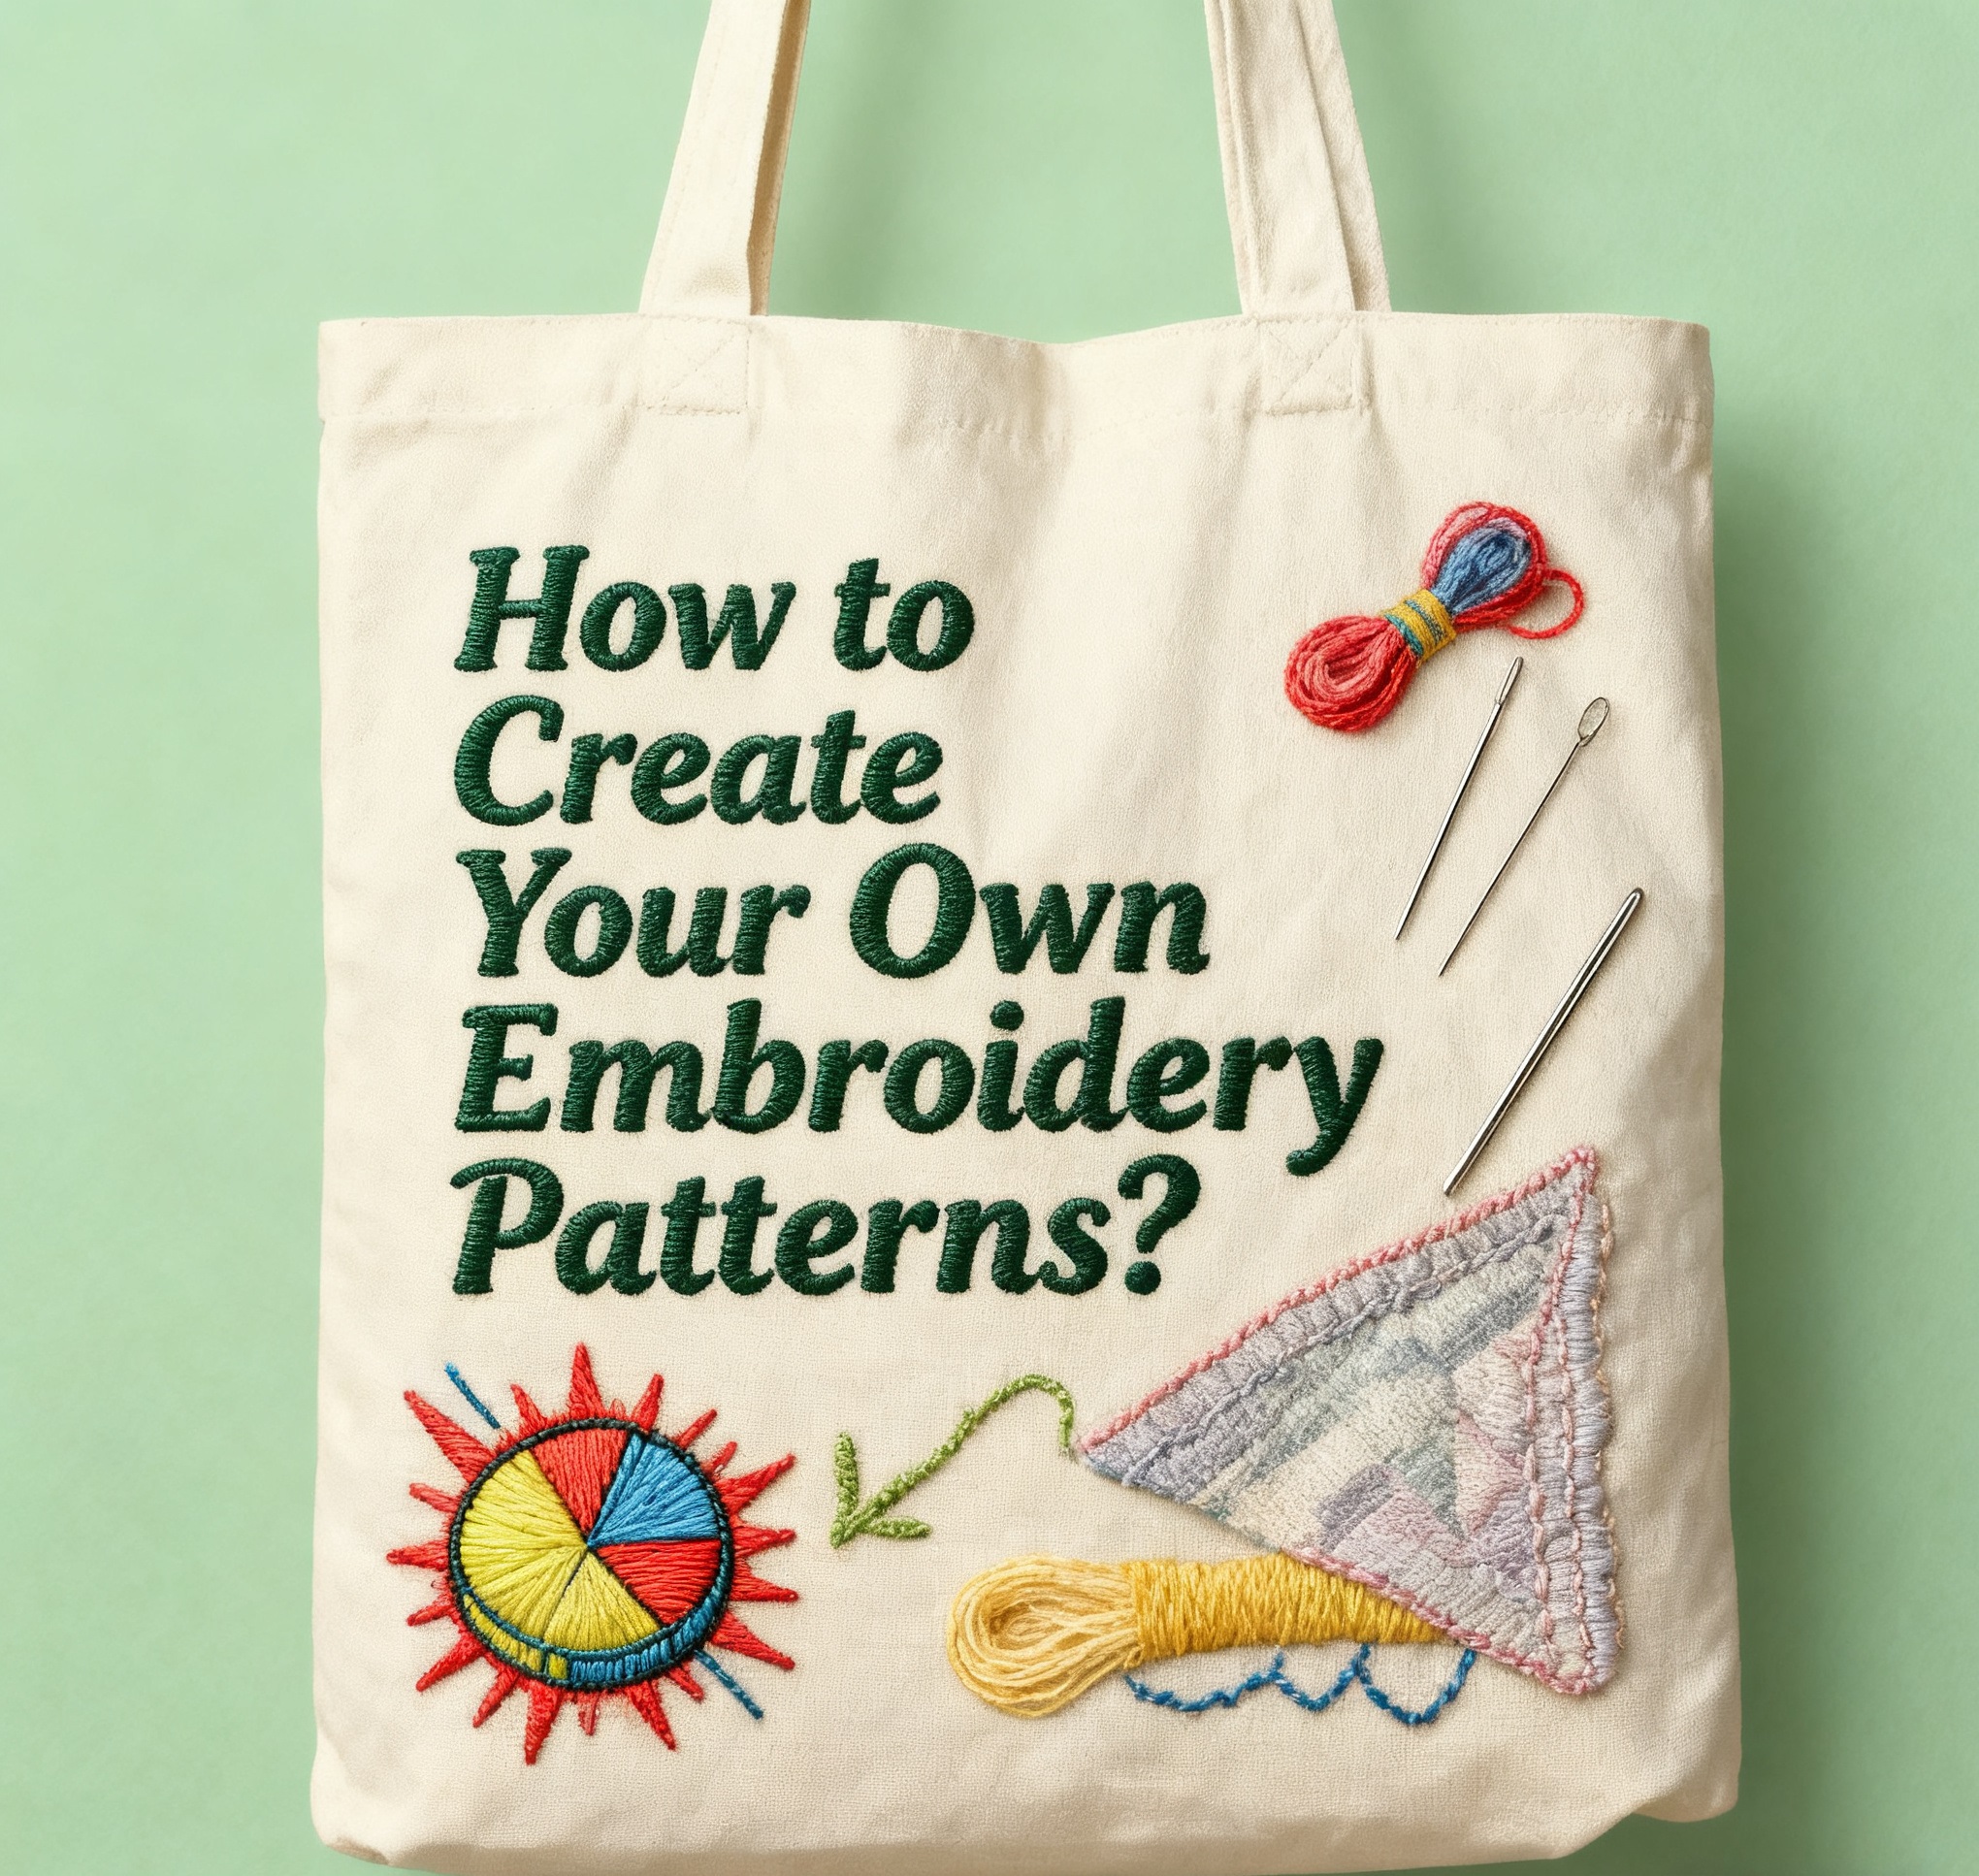
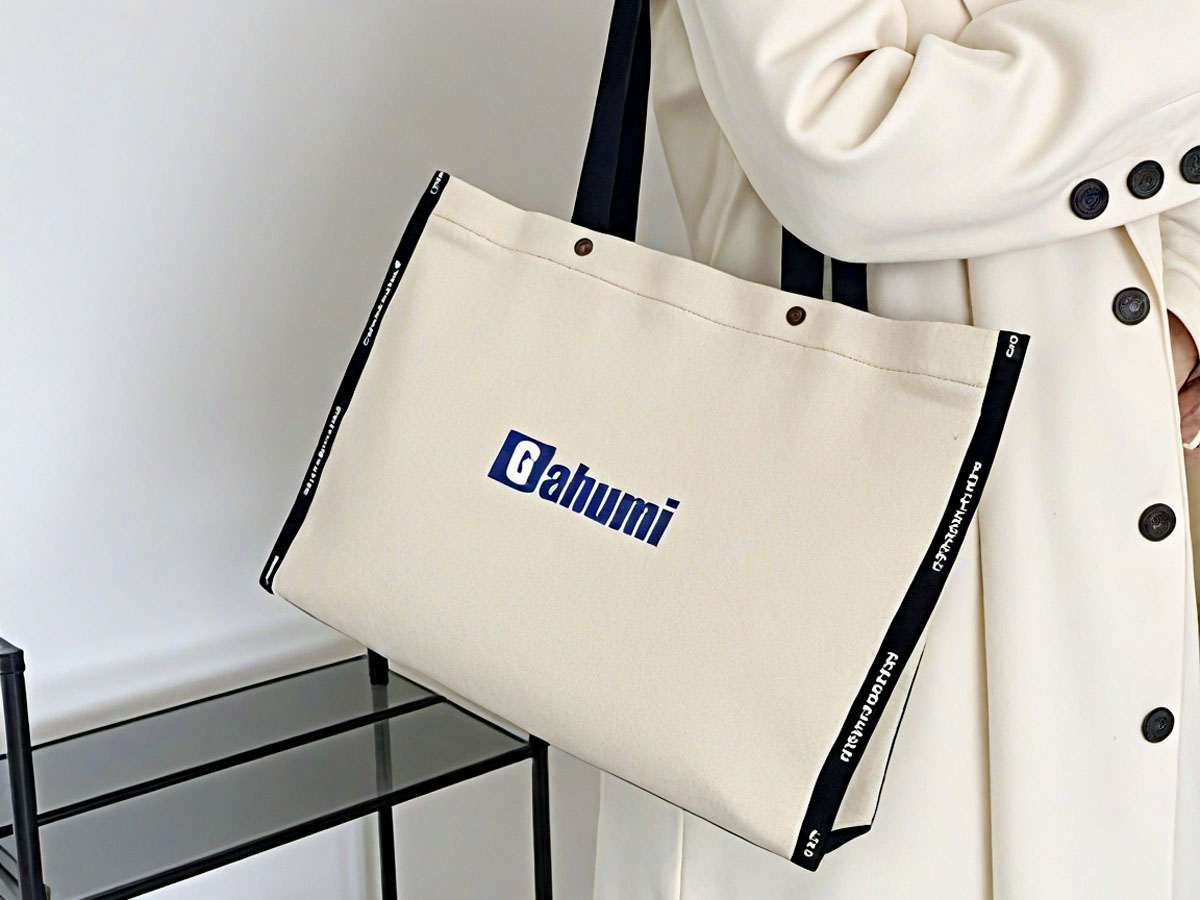
 Custom Bags
 Flag
Flag
 Towel
Towel
 Custom Scarf
 Cap
Cap
.webp)
.webp)
.webp)
Creating custom embroidery patterns might feel intimidating if you’re new to the craft, but with the right tools, techniques, and a little creativity, it becomes a deeply rewarding process. Whether you’re designing for personal projects (like a handmade gift for a friend) or building custom embroidery designs to sell on Etsy or your online shop, mastering pattern creation gives you the freedom to turn any idea—from a simple floral sketch to a branded logo—into a stitched masterpiece. The joy of seeing your unique design come to life on fabric is unmatched, and with practice, you’ll soon be crafting patterns with confidence.
In this guide, we’ll break down everything you need to know: from drafting your first design (by hand or digitally) to transferring it to fabric, stitching it perfectly, fixing common issues, and even personalizing items like reusable bags. Let’s get started.
1. Creating Your Embroidery Design: From Idea to Draft
The first step in making embroidery patterns is turning your inspiration into a tangible design. Whether you want simple cross-stitch patterns, intricate hand embroidery florals, or bold geometric designs, the key is to start simple—especially if you’re a beginner—and focus on balance (avoid overcrowding details that will get lost in stitches). Here are the three most effective methods to create your design:
Hand-Drawn Embroidery Patterns
If you love sketching, hand-drawing is the best way to craft one-of-a-kind embroidery designs. All you need is paper, a pencil (for drafting), a fine-tip pen (for final outlines), and optionally, colored pencils to plan thread colors. Start with basic shapes: a sunflower, a heart, or a phrase like “Home” — complex designs can come later.
Pro Tips for Hand-Drawn Designs:
Simplify details: Embroidery stitches work best with bold, clean lines. A tiny leaf vein or delicate facial feature might not show up—stick to outlines and large fills.
Test with a “stitch sketch”: On scrap paper, draw how stitches (like backstitches for outlines or satin stitches for fills) will cover your design. This helps you avoid overcomplicating.
Use transfer-friendly paper: If you plan to trace your design later, use smooth paper that won’t smudge (avoid rough sketchbooks).
Canva: Easy Digital Embroidery Design for Beginners
For a digital approach without steep learning curves, Canva is a game-changer. It’s free (with paid upgrades for more features) and packed with templates, shapes, and fonts that work perfectly for embroidery. Here’s how to use it:
Open a new “Custom Size” project (use 8x10 inches for most projects—adjust based on your fabric).
Use the “Shapes” tool to build basic elements (circles for flowers, rectangles for borders) or the “Text” tool to add phrases (choose bold fonts like Arial or Cursive for readability).
Avoid gradients or photos: Stick to solid colors and simple outlines—embroidery can’t replicate subtle color shifts.
Download as a PNG: Save your design with a transparent background (under “Download” > “PNG” > “Transparent Background”) for easy printing.
Canva is ideal for beginners, but note that it’s not dedicated embroidery software—for complex designs (like multi-color logos), you’ll need tools that let you adjust stitch types.
Dedicated Embroidery Software: Photopad & Beyond
For more control (especially if you use an embroidery machine), tools like Photopad Embroidery Design Software are worth exploring. These programs are built for embroidery, so they let you:
Adjust stitch types (backstitch, satin stitch, cross-stitch) and density (how close stitches are—critical for avoiding puckering).
Preview your design in 3D: See exactly how stitches will look on fabric before you start.
Import vector images: Use SVG files (from sites like Freepik or your own) to ensure your design stays crisp when scaled up or down.
Beginner-Friendly Software Options:
Photopad (free trial available): Great for balancing simplicity and power.
Embrilliance Express (free): Perfect for basic machine embroidery designs.
Inkscape (free, open-source): Use it to create vector designs that you can export to embroidery software.
2. Transferring Your Design to Fabric: Get It Right the First Time
Once your design is ready, the next step is transferring it to fabric—and accuracy here makes or breaks your project. The method you choose depends on your fabric type (e.g., canvas vs. delicate linen) and whether you’re hand-stitching or using a machine.
Tracing with Carbon Paper or Fabric Pens
This is the simplest method for hand-embroidery. You’ll need:
Carbon paper (choose “fabric-safe” carbon—avoid regular office carbon that stains).
A fabric pen (water-soluble or air-erasable—never use permanent markers!).
A hoop (to keep fabric taut).
Steps:
- Place carbon paper (dark side down) on your fabric, then lay your design (printed or hand-drawn) on top.
Secure all layers with tape (to prevent shifting). - Trace the design with a pencil or fabric pen—press firmly enough to transfer the carbon, but not so hard that you damage the fabric.
- Remove the paper and carbon: If using a water-soluble pen, mist the lines lightly to test (some fade in 24 hours without water).
Machine Embroidery Transfer: Digitize & Send
If you use an embroidery machine, most modern models let you digitize your design (convert it to a machine-readable file like .PES or .DST) and send it directly via USB. Here’s how:
Use your software (e.g., Photopad) to convert your design to a machine-compatible format.
Test the file: Most machines have a “preview” mode to check if the design fits your hoop.
Hoop your fabric tightly (loose fabric causes puckering!) and load the file—your machine will do the rest.
3. Embroidering Your Design: Stitch with Confidence
Now for the fun part: stitching! Whether hand-stitching or using a machine, the key is to prepare your materials and test first.
Hand-Embroidery Basics
Choose the right thread: Use embroidery floss (6-strand) for most projects—split strands to adjust thickness (e.g., 2 strands for delicate outlines, 4 for fills).
Match needle to fabric: Use a size 7-9 embroidery needle for cotton/canvas, and a size 10-12 for linen or silk.
Hoop tightly: Secure your fabric in a hoop so it’s taut like a drum—this ensures even stitches.
Test on scrap fabric: Before stitching your final project, test your thread, needle, and stitch tension on a piece of the same fabric.
Machine Embroidery Tips
Use stabilizer: Place a stabilizer (water-soluble for delicate fabrics, tear-away for thick ones) under your fabric to prevent puckering.
Adjust thread tension: Most machines have a “tension dial”—if threads are loose or bunching, tweak it (consult your machine’s manual).
Start slow: For complex designs, run the machine at half-speed to avoid mistakes.
4. Final Touches: Make Your Design Shine
Once stitching is done, small details will elevate your work:
Trim excess threads: Use sharp scissors to cut loose threads close to the fabric (avoid pulling—this can distort stitches).
Add embellishments: Glue on small beads (for jewelry or tote bags) or sew on sequins (for festive designs).
Finish edges: If your project is a patch or a scarf, use a zigzag stitch on the edges to prevent fraying.
5. Erasing Pen Marks: No More Stains
Water-soluble or air-erasable pens are your best bet—they fade within 24-48 hours or wash away with cold water. If you accidentally used a permanent pen:
For cotton/canvas: Dab a cloth with rubbing alcohol (test on scrap first!) and gently blot the mark.
For delicate fabrics (silk): Use a damp cloth with mild soap—avoid scrubbing.
6. Can You Embroider on Reusable Bags? Absolutely!
Reusable tote bags (canvas, cotton, or jute) are perfect for embroidery—they’re thick, durable, and make great personalized gifts. Here’s how to do it:
Choose the right bag: Canvas bags are easiest (they hold stitches well); avoid thin polyester bags (stitches may pull).
Use a hoop: Even on a bag, a hoop keeps the fabric taut—remove the bag’s handles if they get in the way.
Pick bold designs: A large sunflower, a quote like “Eco-Friendly,” or a small logo works best—small details get lost on bag fabric.
7. Troubleshooting Common Embroidery Issues
Even pros face problems—here’s how to fix them:
Uneven stitches: Check your thread tension (too tight = puckering; too loose = loops) and needle size (too big = holes in fabric).
Fabric puckering: Tighten your hoop, use a stabilizer (for machines), or choose a thicker fabric.
Thread breaks: Use high-quality floss (avoid cheap brands that fray) and replace your needle (dull needles cause breaks).
Stitch skipping (machine): Clean your machine’s bobbin case (lint builds up!) and rethread the needle.
Conclusion
Creating your own embroidery patterns is a journey—start small, practice often, and don’t fear mistakes (they’re just lessons in disguise). Whether you hand-draw a simple flower or use software to design a custom logo, the end result will be a piece that’s uniquely yours. With the steps in this guide, you’ll be stitching beautiful, personalized designs in no time. Happy crafting!


.png)